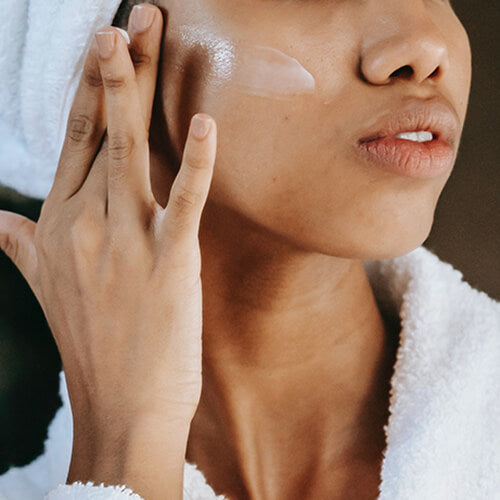
The Right Way to Layer Your Skincare
Does the order you apply your skincare in really matter? Turns out, it does. When in doubt, follow the golden rule of cleansing your face first, then applying products from lightest to heaviest. Read on for a step-by-step guide, courtesy of our founder, Sandra Lee, MD (aka Dr. Pimple Popper).
Published:
5 minute read
Serums, moisturizers and spot treatments, oh my! If you’re anything like us and have a full skincare/makeup cabinet, it can be intimidating to figure out how to incorporate your latest products into your routine.
Turns out, the order you apply skincare does matter. When in doubt, follow the golden rule of cleansing your face first, then applying products from lightest to heaviest. Read on for a step-by-step guide, courtesy of our founder, Sandra Lee, MD (aka Dr. Pimple Popper).
Step 0: Remove makeup
Whether you’ve got a face full of makeup or just a bit of highlighter and mascara, it’s crucial to remove your makeup before you cleanse. Whether it’s micellar water or an oil-based product, stick with whatever gently yet thoroughly gets the job done.

Step 1: Cleanser
Cleansing your skin is essential. Just like you wouldn’t get into a set of freshly washed sheets in dirty clothes, you should not apply skincare products to dirty skin. Over the course of the day, pollutants, dirt and oil accumulate on your face. So it’s important to wash that off at night prior to applying any other products before you go to sleep.
If your skin is extremely dry, you can skip cleanser in the morning and just splash on a bit of water. For all other skin types, though, you’re on the hook for an a.m. cleanse, too. That’s because as we sleep, our skin cells regenerate — meaning dead skin cells may have built up overnight and need to be sloughed off, so products can better penetrate.
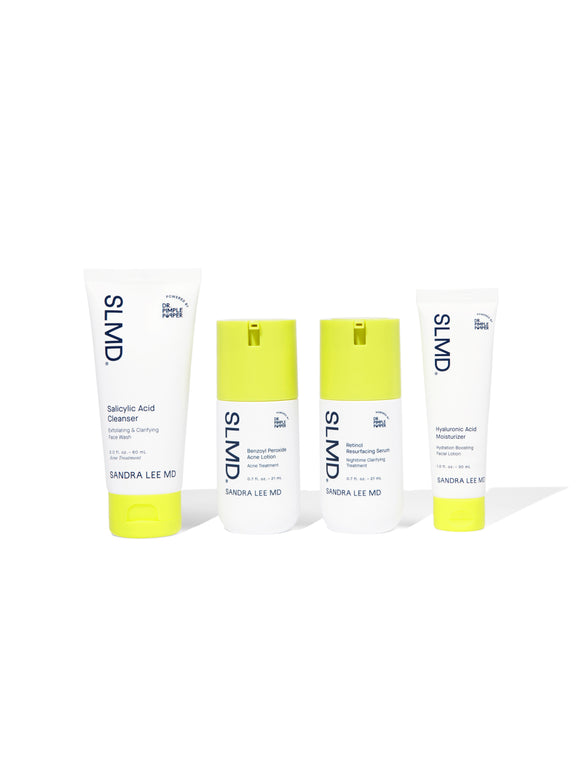
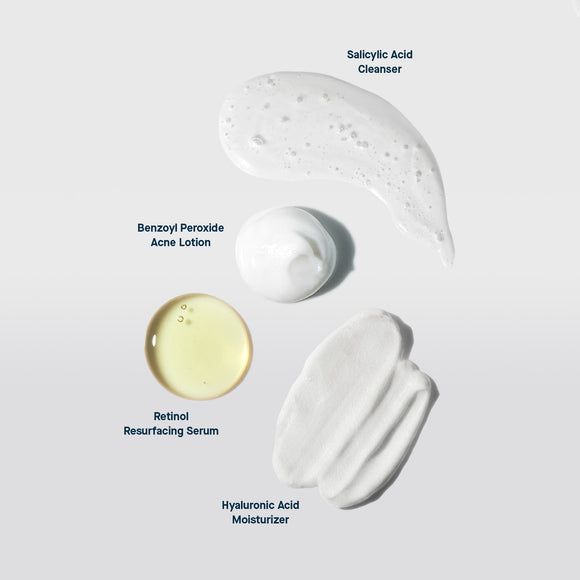
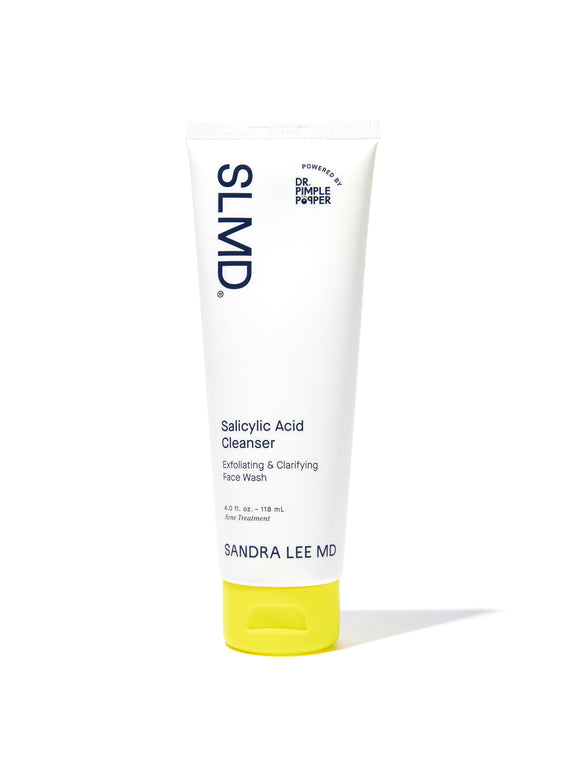
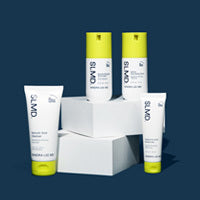
A dime-sized dollop of your cleanser of choice is the perfect amount to remove the day’s dirt and grime without stripping your skin of natural oils or irritating your complexion. SLMD Salicylic Acid Cleanser is a favorite of Dr. Lee’s because it's gentle, yet great at exfoliating and unclogging pores.
Step 2: Toner
Whether you spritz, pat, or swipe on your toner, the benefits are numerous. Think of toner as the primer of your skincare routine, balancing and prepping your skin. Depending on their key ingredients like antioxidants or acids, toners can exfoliate, brighten, protect, and more.
Apply toner by dispensing a small amount into your palm, or onto a soft cotton round, and patting or swiping onto your skin. SLMD All Bright Toner is formulated with niacinamide, vitamin C and alpha arbutin to brighten and protect skin from environmental stress.
Side note: Here’s where it can start to get complicated. Treatment products are potent concentrates of ingredients — like retinol, benzoyl peroxide, and sulfur — which can be used to target a range of skin concerns, from dark spots and discoloration to acne and aging. To keep it clear, we’ve broken down skin treatments into multiple sections.
If you have pimples that you’re planning to spot treat (step 7), apply your acne treatment (step 3) as directed. Avoid applying other types of products directly onto pimples being spot treated, as they might contain ingredients that could counteract your spot treatment’s active ingredients.
Step 3: Acne treatment
If you don’t have acne, skip ahead to Step 4.
If you have active acne, this is the time to apply your treatment — whether it’s a serum, gel, or lotion. That’s because you don’t want any other ingredients to counteract those actives (like benzoyl peroxide or sulfur) in your acne treatment. You also want to avoid layering oils or emollients (like you’d find in moisturizers) before acne treatments, because they could interfere with the treatment’s absorption.
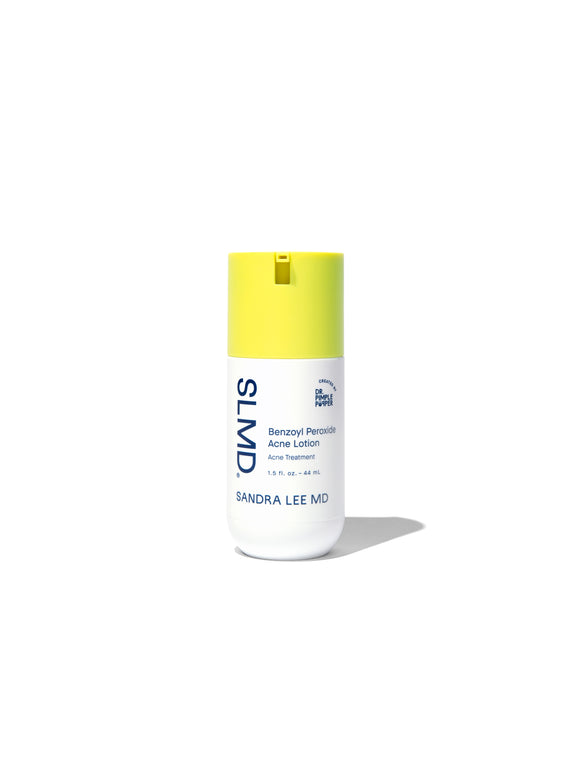
Dr. Lee’s go-to for treating inflammatory acne is SLMD Benzoyl Peroxide Acne Lotion, which contains benzoyl peroxide to kill C. acnes bacteria. If your skin is sensitive, try products with sulfur to inhibit acne-causing bacteria. Apply in a thin layer over your entire face (avoiding eyes), including areas without active acne.
If you’re still trying to get your acne under control, skip ahead to step 5. Once you’re on a maintenance regimen, you can introduce new products to address additional skin concerns.

Step 4: Treatment serum/gel
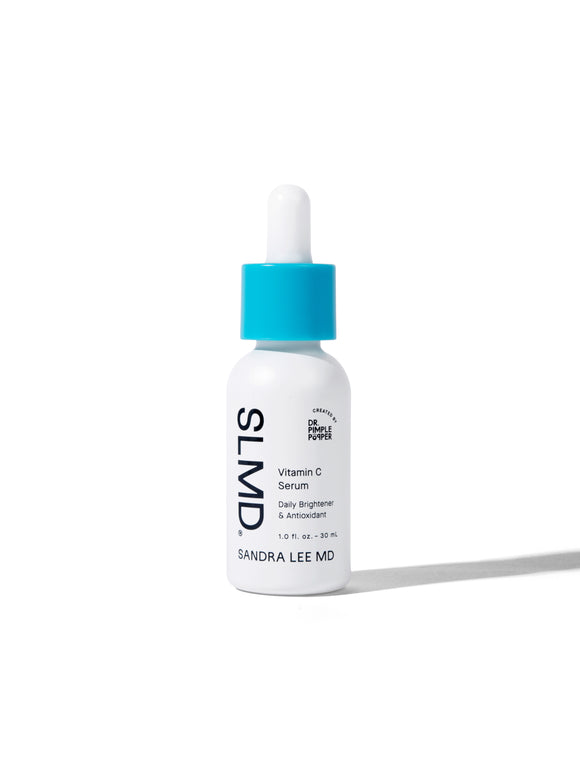
This step is for your targeted solution(s): skin brighteners, leave-on exfoliants, antioxidants, enzymes, retinol, peptides, and the like. Typically, you only need a pearl-sized drop of your go-to treatment product — which should be gently applied in upward strokes until it’s fully absorbed.
Make sure you do some research on your ingredients if you’re mixing more than one treatment product. For example, retinoids are best applied at night only, and not at the same time as benzoyl peroxide for acne. Some ingredients, like vitamin C and alpha hydroxy acids, work well together for some skin types, but can be too strong for others.
Dr. Lee always says, listen to your skin — and stick with only 1–2 treatments at a time. To address multiple concerns, like dark spots and fine lines, you can try alternating treatment products in a morning/evening or every other day frequency.
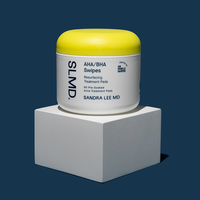
Try: SLMD Dark Spot Fix, Vitamin C Serum, Retinol Resurfacing Serum, AHA/BHA Swipes
Step 5: Hydrating serum/gel
After applying a treatment product, now is the time to apply a hydrating serum, if needed. Look for ingredients like hyaluronic acid, glycerin, and beta glucan, which are humectants, meaning they attract and hold water within the skin. This has a plumping effect and helps impart a dewy, youthful glow.
Another advantage of hydrating serums is that they can help offset irritation from potent treatments, like retinol, exfoliants, and vitamin C, says Dr. Lee, who recommends SLMD Hyaluronic Acid Serum, which also contains moisturizing squalane.

Step 6: Moisturizer
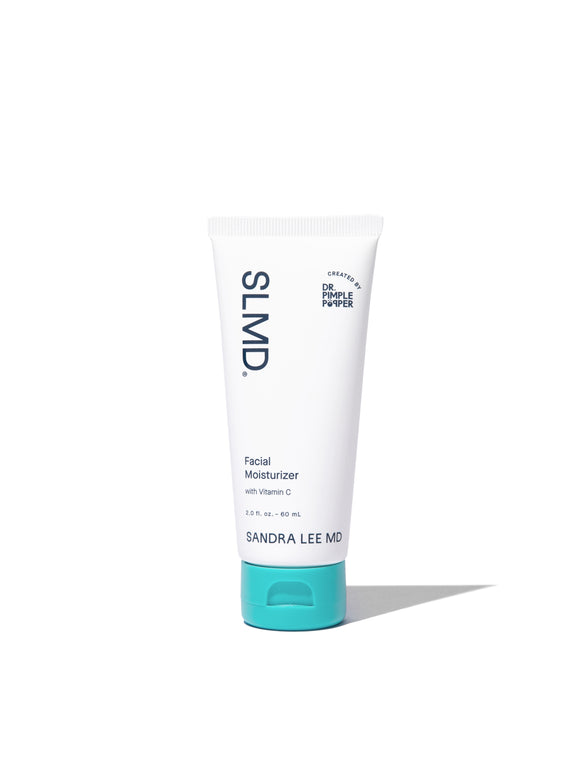
Finally, it’s time to seal it all in! Once you’ve let your previously-applied products settle into your skin, apply a nickel-sized amount of your favorite moisturizer, like SLMD Facial Moisturizer or Hyaluronic Acid Moisturizer. According to Dr. Lee, even those with oily or acne-prone skin need a non comedogenic moisturizer, to help keep skin balanced and to protect the skin barrier from transepidermal water loss (TEWL).
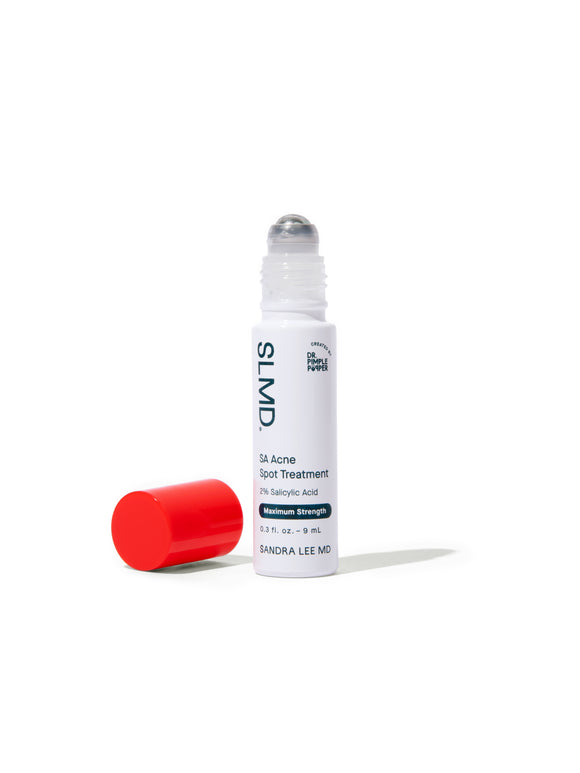
Step 7: Spot treatment
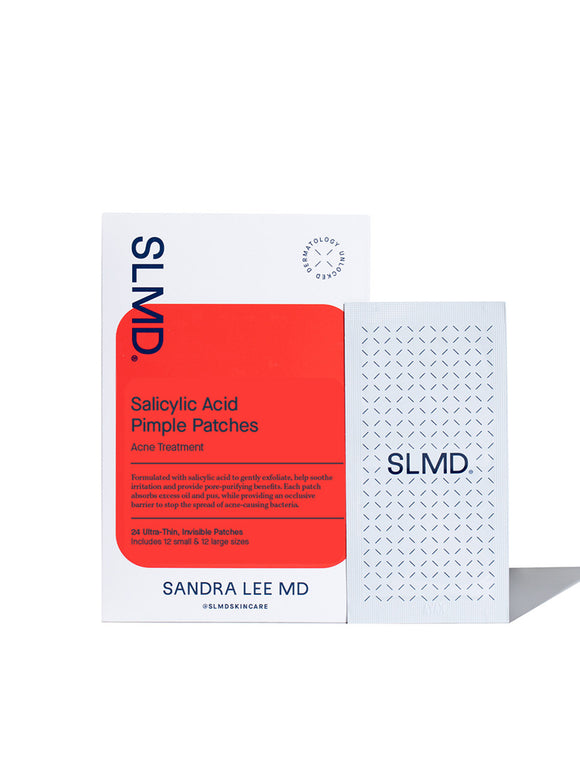
As we noted above, leave any pimples you want to spot treat mostly bare, except for your acne treatment (step 3), so that you get maximum efficacy and penetration from your acne-fighting ingredients. This is especially true if you’re using acne patches (like SLMD Salicylic Acid Pimple Patches), since any oils in your other products may diminish the patch’s contact with your pimple.
Choose a spot treatment that contains benzoyl peroxide (like SLMD BP Acne Spot Treatment) for red/inflamed pimples. If you’ve got blackheads or whiteheads, use a spot treatment with pore-penetrating salicylic acid, like SLMD Salicylic Acid Spot Treatment.
Step 8: Protect
Dr. Lee says that besides cleanser, sunscreen is the most essential step in your routine — so make sure your daily moisturizer is equipped with broad-spectrum protection. SLMD Dual Defender SPF 30 is non comedogenic and lightweight, so it won’t exacerbate your acne.

Dr. Lee's Last Word
How to layer skincare is one of the most common questions I get from patients and fans alike. It can be really confusing,I know, but the most basic rule of thumb is to go from your thinnest to your thickest products after cleansing. Don’t layer too many treatments on at once, and definitely don’t forget to top it off with sunscreen!